What Should I Bring to Burning Man??

Burning Man eBike Rentals

Racer gets asked all the time by new burners and even seasoned burners:  What should I bring to The Burn?  Well, much of this depends on the size of your transport, how long you plan to stay as well as what are your major reasons for attending and interests in general.  Luckily, nearly everything you don’t have can be bartered for, lent or even given to you at Burning Man.

The below is comprehensive list of items to bring, especially if you’re travelling to the burn in an RV or Camper, as well as some packing tips and strategies:

Essential Items for Burning Man

1. Tickets and Identification

  • Burning Man Ticket: Your ticket is your entry pass to the event.
  • Vehicle Pass: If you’re driving, this is required for your vehicle to enter Black Rock City.
  • Government-Issued ID: Essential for entry and in case of emergencies.

2. Shelter and Sleeping

  • Tent/Yurt/Hexayurt: A sturdy shelter to protect you from the elements.
  • Rebar Stakes or MOOP-Free Anchors: To secure your shelter in the often windy conditions.
  • Sleeping Bag: Nights can get cold, so a warm sleeping bag is essential.
  • Sleeping Pad or Air Mattress: For comfort and insulation from the ground.
  • Shade Structure: A canopy or tarp to create shade during the day.

3. Clothing and Personal Gear

  • Dust Mask/Bandana: To protect against dust storms.
  • Goggles: For eye protection during dust storms.
  • Hat or Scarf: To protect your head from the sun.
  • Layers of Clothing: Temperatures can vary widely, so pack for both hot days and cold nights.
  • Sturdy Boots/Shoes: For walking on the rough terrain.
  • Costumes: Embrace the creative and fun spirit of Burning Man.
  • Swimsuit: For any water-related activities.
  • Rain Gear: Just in case it rains.

4. Health and Hygiene

  • Baby Wipes: Useful for quick cleaning.
  • Hand Sanitizer: Essential for maintaining hygiene.
  • Biodegradable Soap: For washing yourself and your dishes.
  • Toilet Paper: Porta-potties may run out.
  • First Aid Kit: For treating minor injuries.
  • Prescription Medications: Bring enough for the duration of your stay.
  • Sunscreen: High SPF to protect against the desert sun.
  • Lip Balm with SPF: To prevent chapped lips.

5. Food and Cooking Supplies

  • Non-Perishable Food: Easy-to-prepare meals and snacks.
  • Cooler: For storing perishable items.
  • Reusable Water Bottles: To stay hydrated.
  • Camp Stove/Portable Grill: For cooking.
  • Fuel for Stove: Ensure you bring enough for the week.
  • Cooking Utensils: Pots, pans, knives, spatulas, etc.
  • Plates, Bowls, Cups, and Cutlery: Reusable to minimize waste.
  • Dishwashing Supplies: Biodegradable soap, sponge, and drying rack.

6. Water

  • At Least 1.5 Gallons Per Person Per Day: For drinking, cooking, and cleaning.
  • Water Jugs: For storage and dispensing.

7. Bicycles

  • Sturdy Bike: The best way to get around the playa.
  • Bike Lights: Required for nighttime visibility.
  • Bike Lock: To secure your bike.
  • Bike Repair Kit: For any on-the-go fixes.

8. Lights and Illumination

  • Headlamps: Hands-free lighting.
  • LED String Lights: For decorating your camp and yourself.
  • Extra Batteries: To keep all your lights powered.

9. Communication and Navigation

  • Portable Radio: For event updates and emergency information.
  • Two-Way Radios: For staying in touch with your group.
  • Playa Map: To navigate the event site.
  • Notebook and Pen: For jotting down important info or creative thoughts.

10. Comfort and Entertainment

  • Camp Chairs: For relaxing at your camp.
  • Portable Shade Structures: To create shaded spots around your camp.
  • Hammock: For a relaxing nap spot.
  • Musical Instruments: For spontaneous jam sessions.
  • Art Supplies: For creative expression.
  • Portable Speaker: For music (keep the volume respectful).

11. Personal Safety

  • Whistle: For emergencies.
  • Portable Fire Extinguisher: In case of fire.
  • Emergency Blanket: For extreme weather situations.
  • Multi-Tool: Useful for various tasks and repairs.

12. Money and Transactions

  • Cash: Some camps and services might require it.
  • Credit/Debit Card: For emergencies and transactions at the gates.

13. Environmental Considerations

  • MOOP (Matter Out Of Place) Bags: For collecting your trash and keeping the playa clean.
  • Reusable Bags: For shopping and carrying items.
  • Gray Water Disposal System: To manage your wastewater responsibly.

14. Specialty Items

  • Decorative Items: To personalize your camp.
  • Gifts for Gifting: Small items to share with others in the spirit of the event.
  • Interactive Art Supplies: To contribute to the community’s creative efforts.

15. Mental and Emotional Preparation

  • Journal: For personal reflection and documenting your experiences.
  • Books or E-Reader: For downtime relaxation.
  • Meditation Supplies: Such as a yoga mat or meditation cushion.

Detailed Packing Tips and Strategies

Organizing Your Gear

  • Categorize Items: Group your gear by category (e.g., clothing, kitchen, first aid) for easy access.
  • Use Clear Bins: Store items in clear, labeled bins to quickly find what you need.
  • Checklist: Create a detailed checklist to ensure you don’t forget anything.

Travel and Transport

  • Vehicle Preparation: Ensure your vehicle is in good condition for the long drive.
  • Packing Efficiency: Use every inch of your vehicle space wisely, keeping heavier items at the bottom.

On-Site Setup

  • Early Arrival: Arrive early to set up your camp before the crowds.
  • Camp Layout: Plan your camp layout for optimal comfort and convenience.

Living on the Playa

  • Stay Hydrated: Always carry water and drink frequently.
  • Rest Regularly: Take breaks to avoid exhaustion in the harsh conditions.
  • Respect the Environment: Follow Leave No Trace principles to keep the playa clean.

Social and Community Engagement

  • Be Open and Friendly: Embrace the community spirit by engaging with others.
  • Participate in Activities: Join in the events and workshops to fully experience Burning Man.

Post-Event Cleanup

  • Leave No Trace: Ensure you pack out everything you brought in, leaving the playa as you found it.
  • Camp Breakdown: Take your time to carefully disassemble your camp and pack away gear.

The Best Mountain Biking Trails Around Incline Village

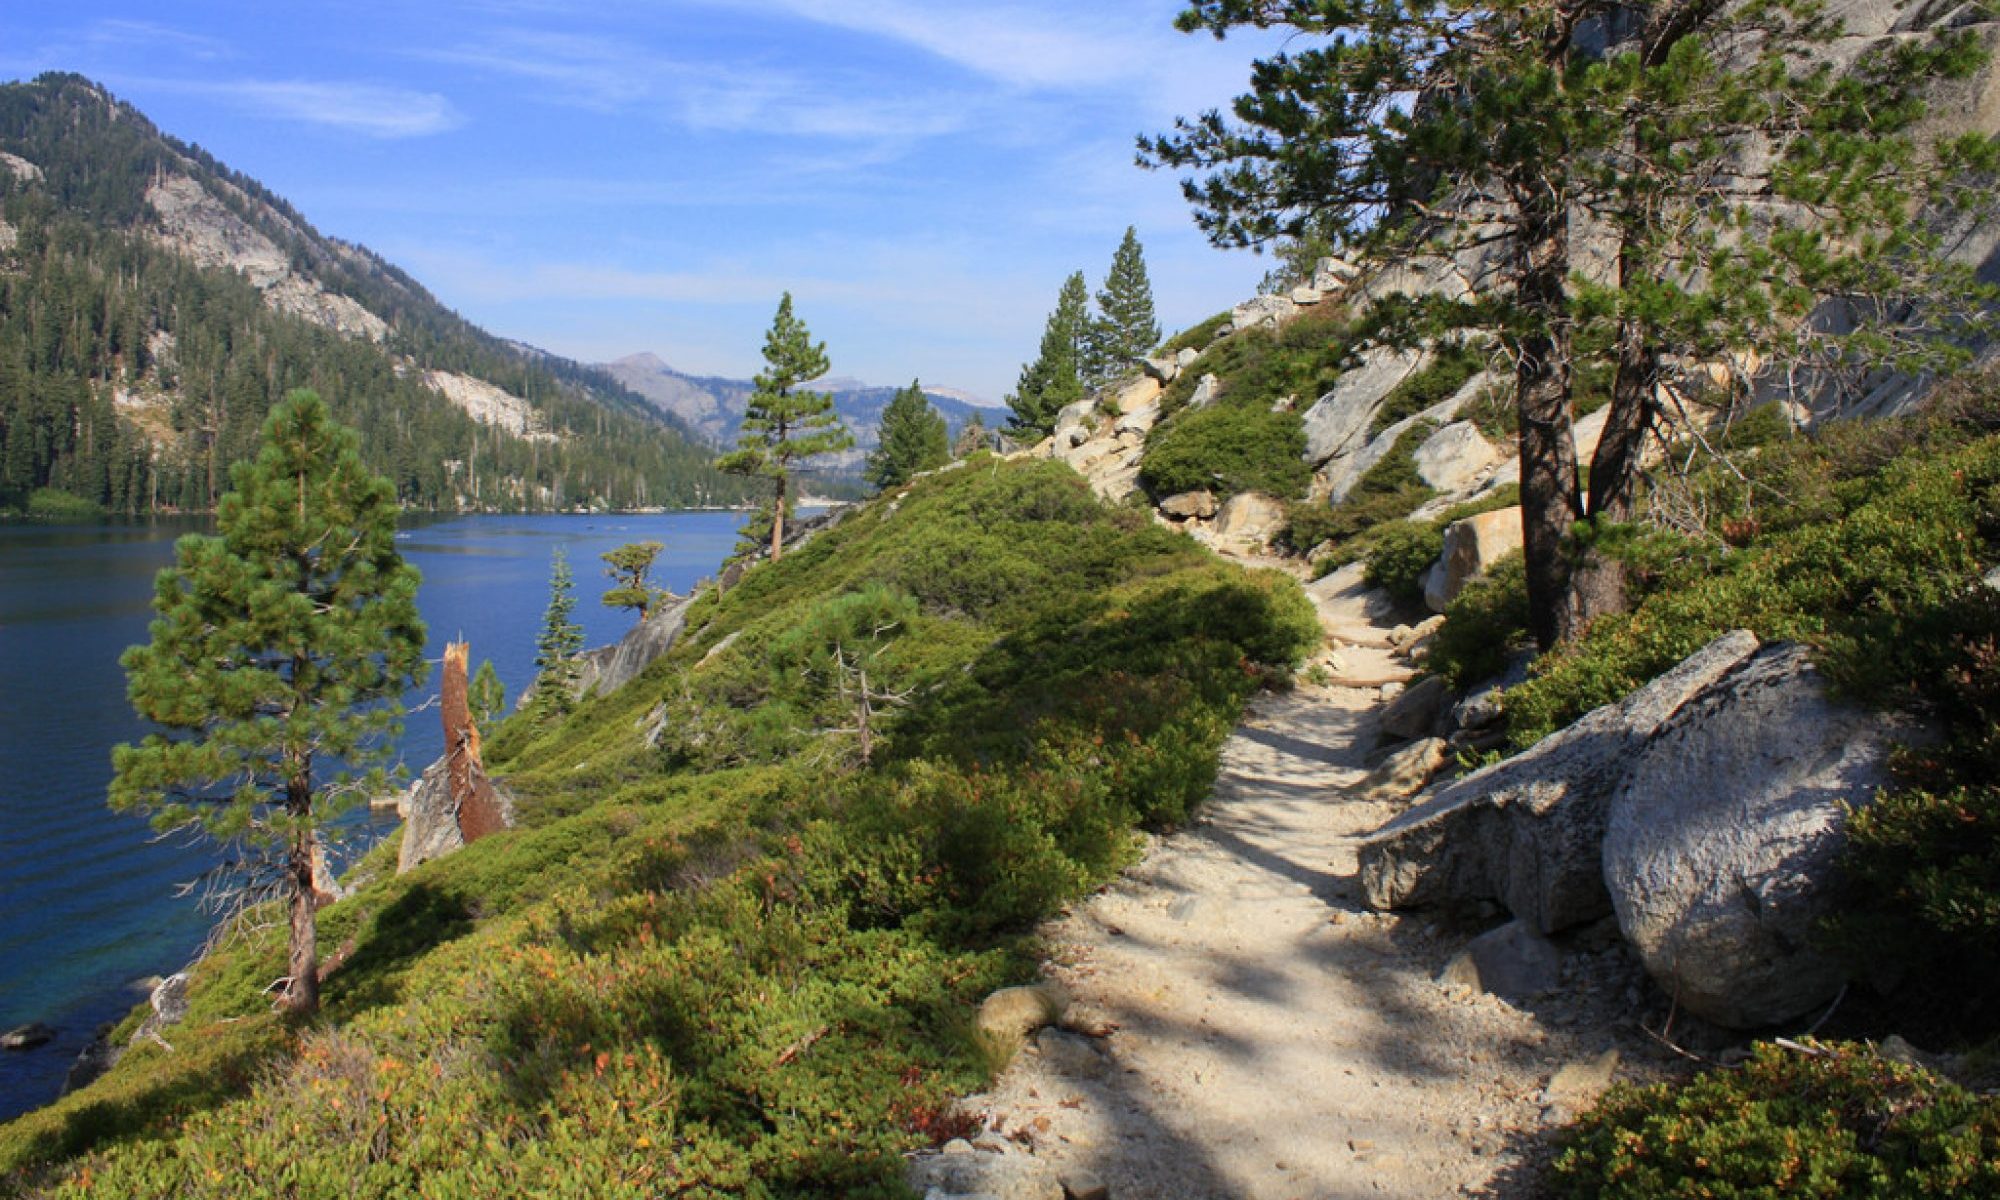
Incline Village, Nevada is a mountain biking paradise. With its stunning scenery, challenging trails, and mild climate, it’s no wonder that the area is home to some of the best mountain biking in the world.

Incline Village and its surroundings boast a diverse array of trails that cater to riders of every level. From the breathtaking views of the Flume Trail to the adrenaline-fueled descents of Tyrolean Downhill, these trails offer unforgettable experiences that showcase the natural splendor of the Sierra Nevada mountains. Whether you are a seasoned rider seeking an adrenaline rush or a beginner exploring the wonders of mountain biking, the trails around Incline Village are sure to provide you with a thrilling adventure amidst nature’s embrace.

Here are a few of the best mountain biking trails around Incline Village:

  • The Incline Flume Trail: This is a must-do for any mountain biker visiting the area. The trail follows an old flume line that was used to transport water to a nearby mining town. The trail is mostly singletrack, with some easy doubletrack sections. The views from the trail are incredible, and the trail is a great way to experience the beauty of the Lake Tahoe region. 
  • Snap Dragon Trail: Perfect for families and beginners, the Snap Dragon Trail offers a fun and less demanding ride with gentle slopes and wide-open paths. The trail meanders through serene forests and wildflower meadows, making it an excellent choice for riders seeking a leisurely day outdoors. While Snap Dragon may be less challenging than other trails in the area, its natural beauty and accessibility make it a popular option for riders of all ages and abilities.
  • Tunnel Creek Trail: This is another great trail that offers stunning views of Lake Tahoe. The trail is mostly singletrack, with some rocky sections. The trail is a bit more challenging than the Incline Flume Trail, but it’s still a great option for intermediate riders. 
  • Tahoe Rim Trail: Stretching approximately 165 miles around Lake Tahoe, the Tahoe Rim Trail encompasses various sections catering to different skill levels. The Incline Village segment offers riders an extraordinary combination of pine forests, alpine meadows, and rocky descents. The trail’s accessibility allows bikers to choose sections that match their expertise, making it an excellent destination for both beginners and seasoned riders seeking a full-day adventure. Notable highlights include the sweeping views of the lake and the surrounding mountains, providing an unparalleled sense of serenity while navigating the rugged terrain.
  • Marlette Lake and Chimney Beach Loop: This is a longer loop trail that offers a variety of terrain. The trail starts out on singletrack, then climbs up to Marlette Lake. From the lake, you can take a side trail to Chimney Beach, which is a great place to stop for a break and enjoy the views. The trail then descends back to the trailhead on doubletrack. 
  • Folsom Camp Loop – Tyrolean Downhill: This is a great trail for intermediate riders who are looking for a challenge. The trail starts out on singletrack, then climbs up to Folsom Camp. From the camp, you can take a side trail to the Tyrolean Downhill, which is a steep and technical descent. The trail then descends back to the trailhead on doubletrack. 
  • Relay Peak Trail: This is a challenging trail that offers stunning views of the Lake Tahoe region. The trail is mostly singletrack, with some rocky sections. The trail is a great option for advanced riders who are looking for a challenge.
  • Wood Creek Trail: This is a great trail for beginners and families. The trail is mostly doubletrack, with some easy singletrack sections. The trail is a great way to get started in mountain biking, or to enjoy a leisurely ride with the family.

These are just a few of the many great mountain biking trails around Incline Village. With so many trails to choose from, you’re sure to find the perfect one for your skill level and experience.

Tips for Mountain Biking in Incline Village

  • Be prepared for the weather: The weather in the Lake Tahoe region can change quickly, so it’s important to be prepared for anything. Bring layers of clothing, sunscreen, and a hat. 
  • Start early: The trails can get crowded later in the day, so it’s best to start early. This will also give you a chance to beat the heat. 
  • Be aware of your surroundings: The trails around Incline Village are shared with hikers, runners, and other bikers. Be sure to be aware of your surroundings and yield to other users. 
  • Have fun! Mountain biking is a great way to enjoy the outdoors and get some exercise. So relax, have fun, and enjoy the beautiful scenery.


Welcome to Tahoe Electric Bike Rental!

Greeting Lake Tahoe and Truckee visitors! I started this business since I recognized the need for something a bit more practical to travel around the beautiful are of Tahoe! Driving doesn’t get one in touch with nature and regular bikes are great, but only for short distances. I also recognized a need for speed! I work at Squaw/Alpine for the winter months so decided to rectify the lack of alternative transport in Tahoe in the summer, spring and fall.

So I started Tahoe Electric Bike Rental. And why operate a stand alone shop when the convenience of having a bike brought to you! That’s why we went mobile!

We’re looking forward to serving Lake Tahoe residents and tourists from California, the United States and beyond!

Just remember to ride responsibly, keep safe and enjoy the ride!

Racer

Verified by MonsterInsights